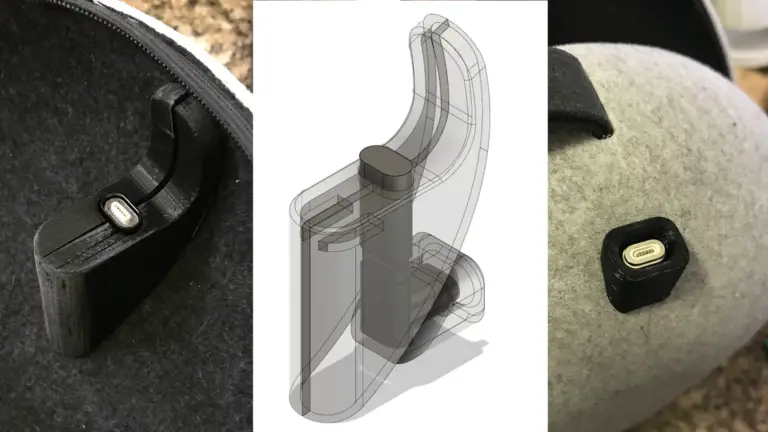
Things you will need:
1 – Quest 2 Carrying Case
1 – Elite Strap With Battery
1 – Quest USB-C charger and cable
1 – USB-C 90 Degree Angle Male to Female Adapter (Amazon)
2 – NetDot Gen 10 Magnetic Fast Charging USB-C to USB-C Adapter (Amazon)
1 – Set of 3D printed parts (Thingiverse.com)
Tools:
Power drill with drill bits
Dremel and/or sandpaper
Needle nose pliers.
Hot glue gun or epoxy
Access to 3D printer
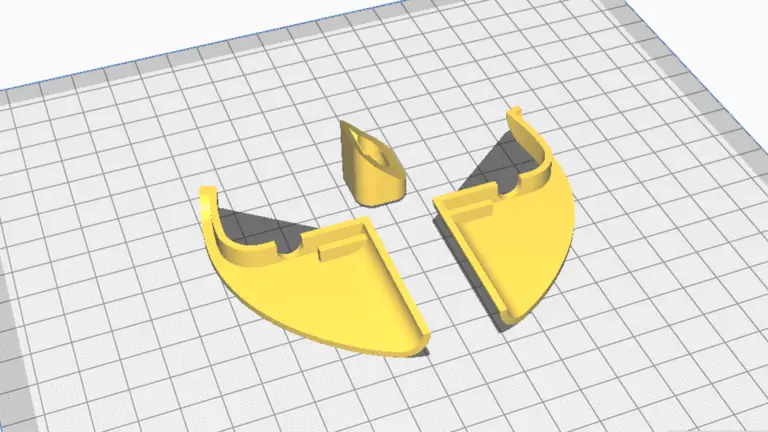
Use a 3D printer of your choice. I used an Anet A8, PLA with 20% infill and profiles set at 0.2mm. The 3D file can be downloaded from Thingiverse.com.
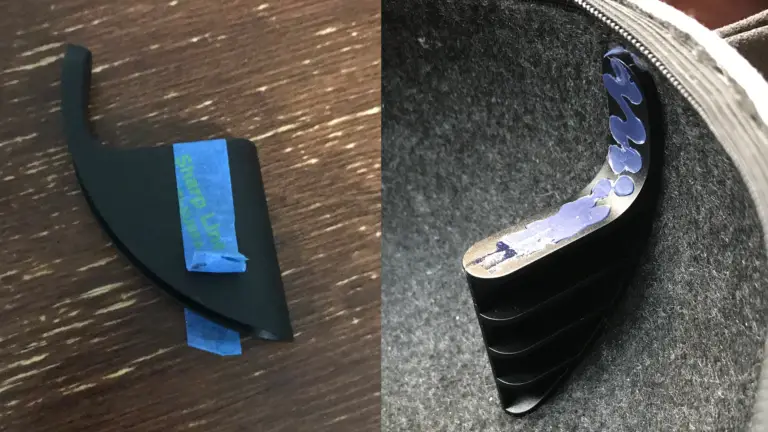
Pry from the bottom left of the post that is closest to the center of the case. Slowly peel back the rubber only and leave the plastic as show above.
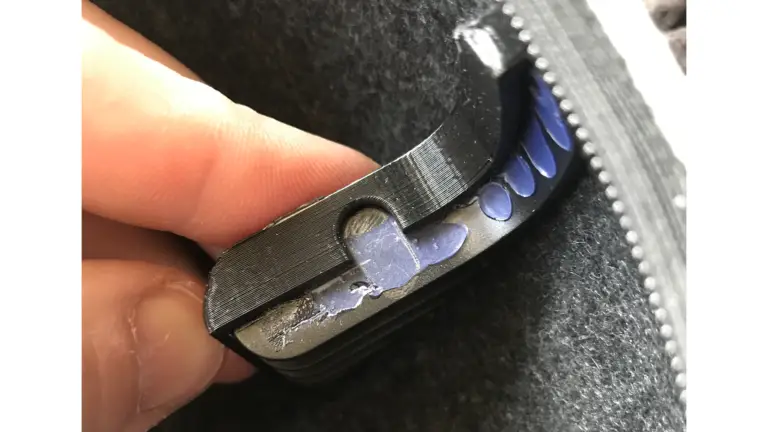
Mark the hole where the charger will come up through. You will want to remove the plastic from this mark straight down to the shell of the case. I did this slowly with a X-Acto Razor Saw and a Dremel. You can use pliers to bend and pull away the unwanted plastic. Take your time with this. You don’t want to snap off the rest of the plastic post. You also don’t want to poke through the case by accident.
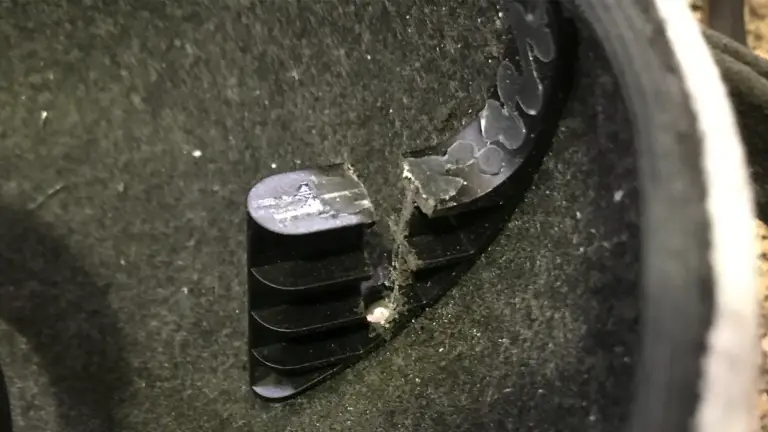
Your post should look like this. Use sandpaper to smooth out or widen the area as needed.
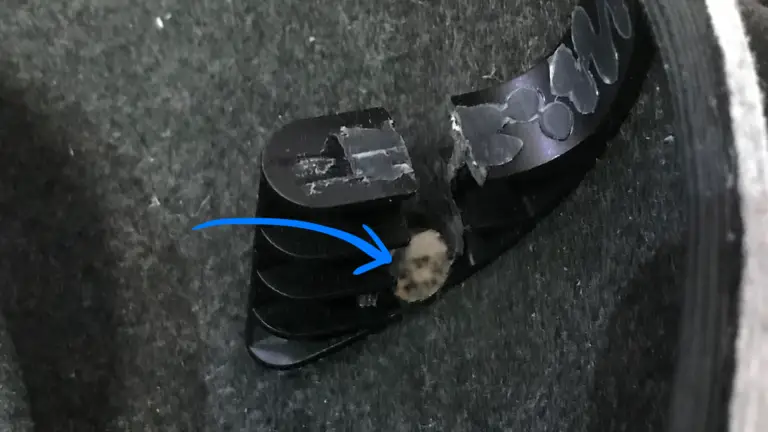
Drill the hole at the bottom of the area you just cleared away.
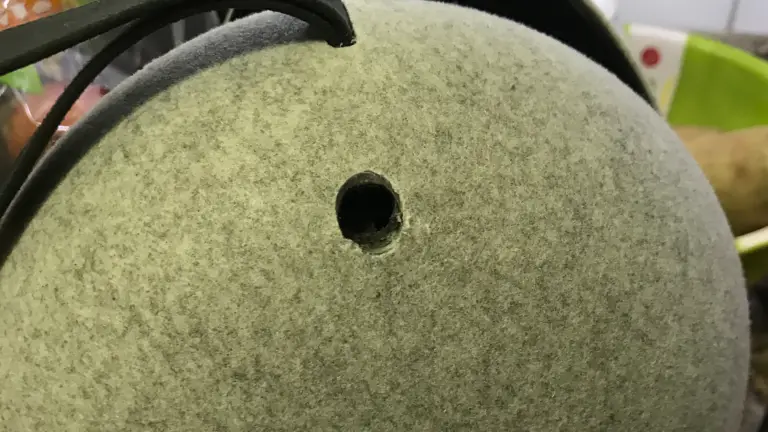
Using a Dremel slowly widen the hole to fit the USB-C 90 degree angle adapter. With every adjustment in size test the fitting of the adapter. It helps to have the NetDot Gen 10 Magnetic Fast Charging USB-C to USB-C Adapter, USB-C 90 Degree Angle Male to Female Adapter and 3D printed exterior cap connected as shown below. Continue to adjust the hole until the cap’s curved side sits flush against the case’s exterior.
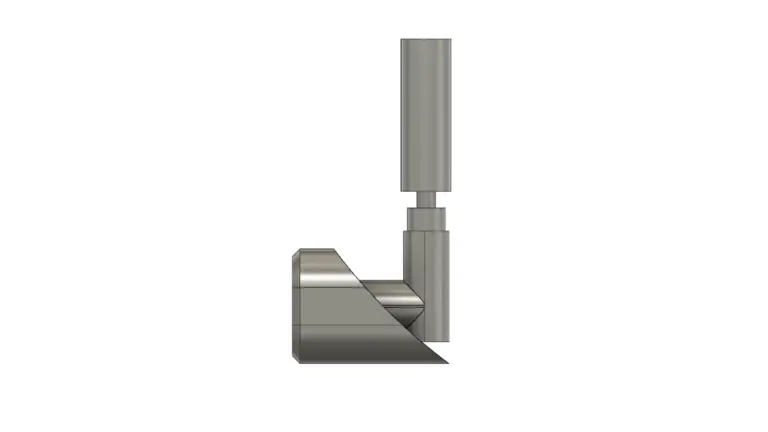
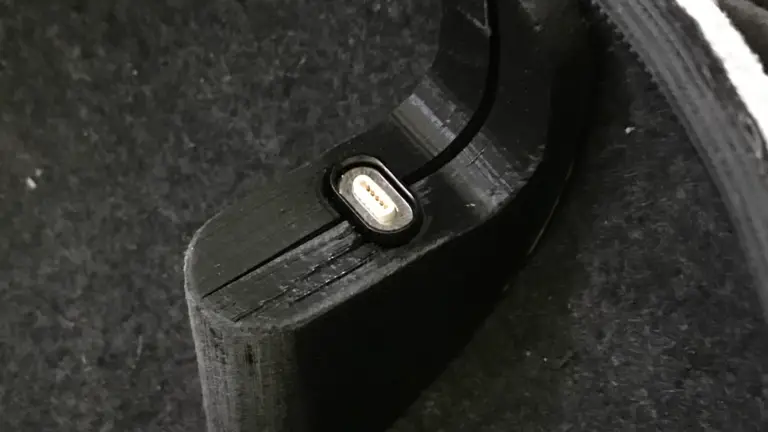
Once the exterior cap sits flush with the outside of the case make sure that the interior part of the magnetic adapter is sitting 1 – 2mm up from the 3D printed cover pieces as shown above.
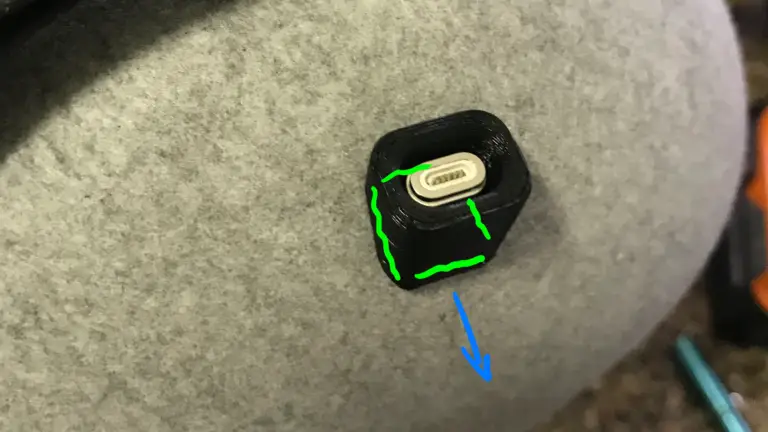
Pull the adapter out slightly (blue). Just enough so the right angle corner and the cap’s interior edge is exposed. Add some hot glue or epoxy to the adapter and the cap (green). Push the adapter back in to the hole. Make sure that the interior of the adapter is still aligned with the 3D printed shell as shown in the previous step. Let the glue set before glueing the 3D printed caps.

Glue on each side of the interior 3D printed caps. Making sure everything stays aligned. See additional thoughts at the end for reusing rubber covering.
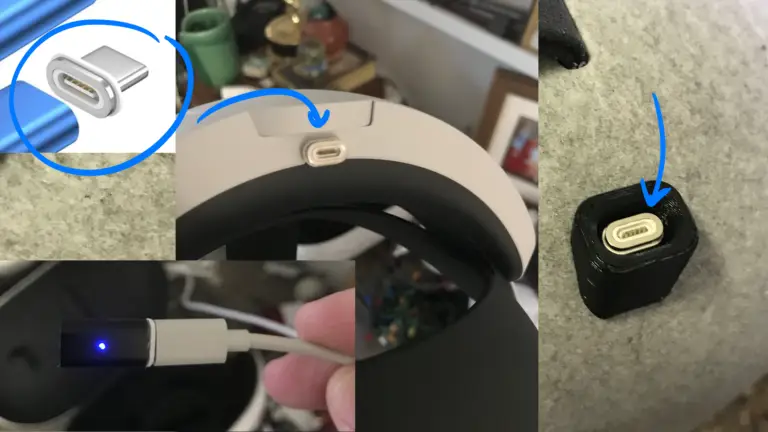
Insert the magnetic tip into the Elite Strap’s USB-C charging port. Add the other magnetic tip into the back of the case as shown above and finally add the magnetic dongle to the USB-C charging cable as shown on the bottom left of the image. It might be easier to insert the magnetic tip into the back of the case if the magnetic tip is attached to the magnetic adapter shown on the bottom left of the image.
Once everything is in place you can attach the charging cable to the back of the Elite Carrying Case. When putting the Quest away in the case make sure that the strap is contracted enough to fit into the case. You hear a little click insuring that the magnetic tip has locked into the adapter. It may take a few tries to get used to setting the strap into place.
An alternative to using the 3D printed interior caps would be to try to reuse the original rubber cover. You will need to cut out the hole on the top of the rubber for the charging port to poke through.
Moving the case around may dislodge the magnetic charger. Check the connections after moving.
To make it easier to see the charging status light of the headset add a piece of light colored or reflective tape to the wall of the case near the indicator light to reflect the light up. It is difficult to see the LED light reflecting off of the dark charcoal colored interior walls of the case.